
A Step-By-Step Guide to Remove Stains From Your Car Carpets
Ever had an ‘oops’ moment that left a mark on your beloved car’s carpet?
Most car owners have been there, battling stubborn stains that refuse to budge.
Here’s a simple, step-by-step guide that can help you restore the original glory of your car’s carpet.
Step 1: Gather Necessary Supplies
A little prep can make the cleaning task smoother and more efficient. So, gather all your necessary supplies such as:
- a vacuum cleaner with an attachment hose,
- a stiff-bristled brush,
- a bucket,
- dish soap,
- a clean, damp cloth,
- and a dry towel.
A good quality brush is key to loosening the dirt trapped in your car’s carpet fibers.
Dish soap is handy for most stains while a clean cloth helps in blotting the stain, preventing it from spreading.
The towel is for drying the area after cleaning.
Step 2: Vacuum the Stained Area
If possible, remove your car mats before vacuuming the area. This clears the path for the vacuum cleaner.
Start by vacuuming to remove any loose dirt and debris. Then, get the attachment hose ready. It will allow you to focus on the stained area, as well as access hard-to-reach spots.
Another option is to use a car interior steam cleaner to dislodge dirt and stains.
Make sure you thoroughly vacuum the stained spot to remove as much dirt as possible. This step is crucial to prevent the stain from spreading during the cleaning process.
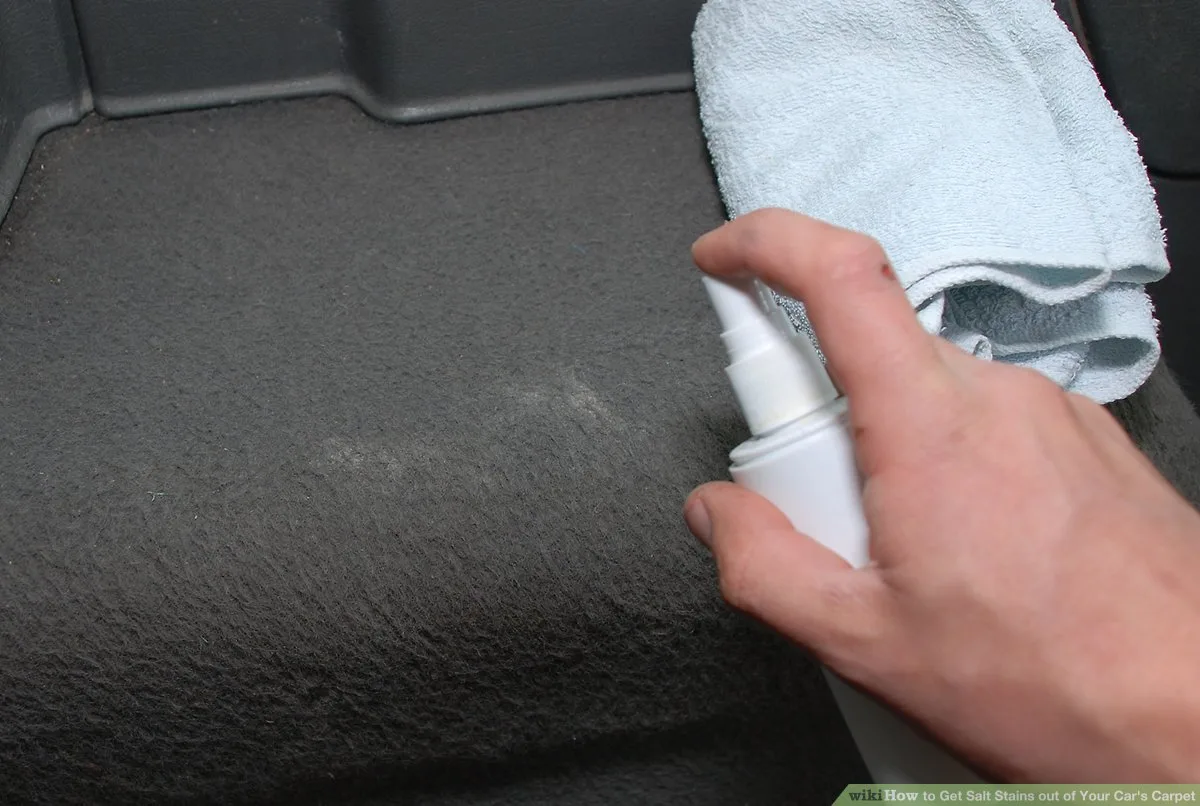
Step 3: Pre-Treat the Stains
Pre-treatment helps break down the stain, making it easier to remove in the next step.
You can either choose a suitable cleaner or make a DIY cleaning solution, depending on the type of stain.
- For protein-based stains, a mix of dish soap and hot water does the trick.
- Tannin stains, like coffee or tea, respond well to a vinegar and water solution.
- For old, stubborn stains, try a mix of vinegar, club soda, and dish soap.
Dab your chosen solution onto the stain, but be careful not to over-saturate the area. Let it sit for about 15 minutes.
Step 4: Scrub the Stain Away
After letting your chosen cleaning solution sit on the stain, grab your stiff-bristled brush and start scrubbing gently in circular motions. It will help work the cleaner deep into the carpet fibers without causing damage.
Be careful not to scrub too hard, as you don’t want to ruin the carpet’s texture.
If the stain’s stubborn, add a sprinkle of baking soda to the mix. It’s a natural stain fighter that can boost your cleaning efforts.
Keep scrubbing until you’ve covered the entire stained area.
Step 5: Blot the Stain Out
Using a dry towel or cloth, blot the stain to absorb as much moisture as possible without rubbing it into the carpet fibers. Gently press the towel onto the stained area, allowing the moisture to soak into the towel.
Don’t rub the stain, as this could push it further into the carpet, making it harder to remove later.
For water-based stains like ink or beverages, blotting is especially important to prevent the stain from spreading.
After blotting, check the towel. If it’s picked up some of the stains, you’re on the right track. Keep blotting until no more stains transfer onto the towel.
Step 6: Repeat the Cleaning Process
Some stubborn stains may still be visible on your car carpet, indicating a need to repeat the cleaning process.
Persistence is key when dealing with tenacious spots. Gather your supplies and get ready to dive back in.
Start by vacuuming the area again to ensure there’s no loose dirt that could interfere with your work. Then, reapply your chosen cleaner, whether it’s a DIY mix or a store-bought solution.
Scrub the stain once more with your stiff-bristled brush, using circular motions to really work the cleaner into the carpet fibers. Give the solution some time to work its magic before blotting again.
Step 7: Rinse and Dry the Area
Rinse the area thoroughly to remove any residual cleaner or chemicals. Just take a clean, damp cloth and gently wipe the area.
Make sure you’re not soaking the carpet, as this could lead to mold or mildew.
Once you’ve rinsed the area, it’s time to dry it. A dry towel is perfect for this.
Press the towel onto the damp area, then lift. Don’t rub as this can damage the carpet fibers. Repeat this process until the carpet is as dry as possible.
For the final drying, leave the car windows open for ventilation or use a fan. Ensure the area is completely dry before moving on to the next step.
Final Vacuuming Step
Once your car carpet is completely dry, give it a final vacuuming to ensure all loose dirt and debris are removed.
Using your vacuum cleaner, preferably with an attachment hose, start from one end of the carpet and work your way to the other. Make sure to reach into corners and under seats.
Don’t forget to vacuum your car mats before putting them back in.
Additional Cleaning Tips
Follow these additional cleaning tips to keep your car’s carpet looking its best:
- Always act fast when a spill occurs. The quicker you tackle it, the less likely it’s to become a permanent stain. Even if you’re out and about, blot it with a napkin or cloth to absorb as much as possible.
- Don’t forget to test any new cleaning products on a hidden area first to ensure they won’t damage or discolor the carpet.
- For tough, greasy stains, consider using a bit of paint thinner, but use it sparingly and wisely.
- If you’re dealing with ink, hairspray can be a handy solution.
- If the stain proves too stubborn, don’t hesitate to seek professional help. Your car’s carpet is too important to risk permanent damage.
Dealing With Specific Stains
When you’re faced with specific stains, such as vomit, alcohol, blood, or pet odors, certain tried-and-true methods can make the cleanup process much easier.
- For vomit, sprinkle baking soda on the stain promptly, let it sit, and then vacuum up.
- Dilute alcohol stains with cold water immediately to prevent any changes in fabric color.
- Blood stains can be tackled effectively by creating a paste of laundry starch and cold water, and then applying it to the stain.
- If pet odors are a problem, sprinkle Borax on the affected area, let it sit, and then vacuum it up.
These methods are effective and cost-friendly since you’re using items you likely already have at home.